Simplify and Automate your Astrophotography
If you’re serious about becoming a better astrophotographer, like with anything, it’s all about practice. With every image you produce, you’ll learn something that makes your next image a little better.
But life has a habit of getting in the way. You’ve had a long, tiring day at work – do you really want to spend an hour setting up your imaging gear? You’ve got to get up early tomorrow – do you really want to stay up late collecting exposures, and then spending another hour tearing everything down?
Gaining that practice requires simplifying your setup and takedown as much as possible – and finding a way to image while you sleep. Both are achievable!
How I set up in 10 minutes.
Look, most of us just aren’t in a position to build a permanent observatory, which is the only way to totally avoid setting up and tearing down surrounding a night of imaging. Landlords, HOA’s, and long-term plans that may involve moving make that a non-starter for most of us.
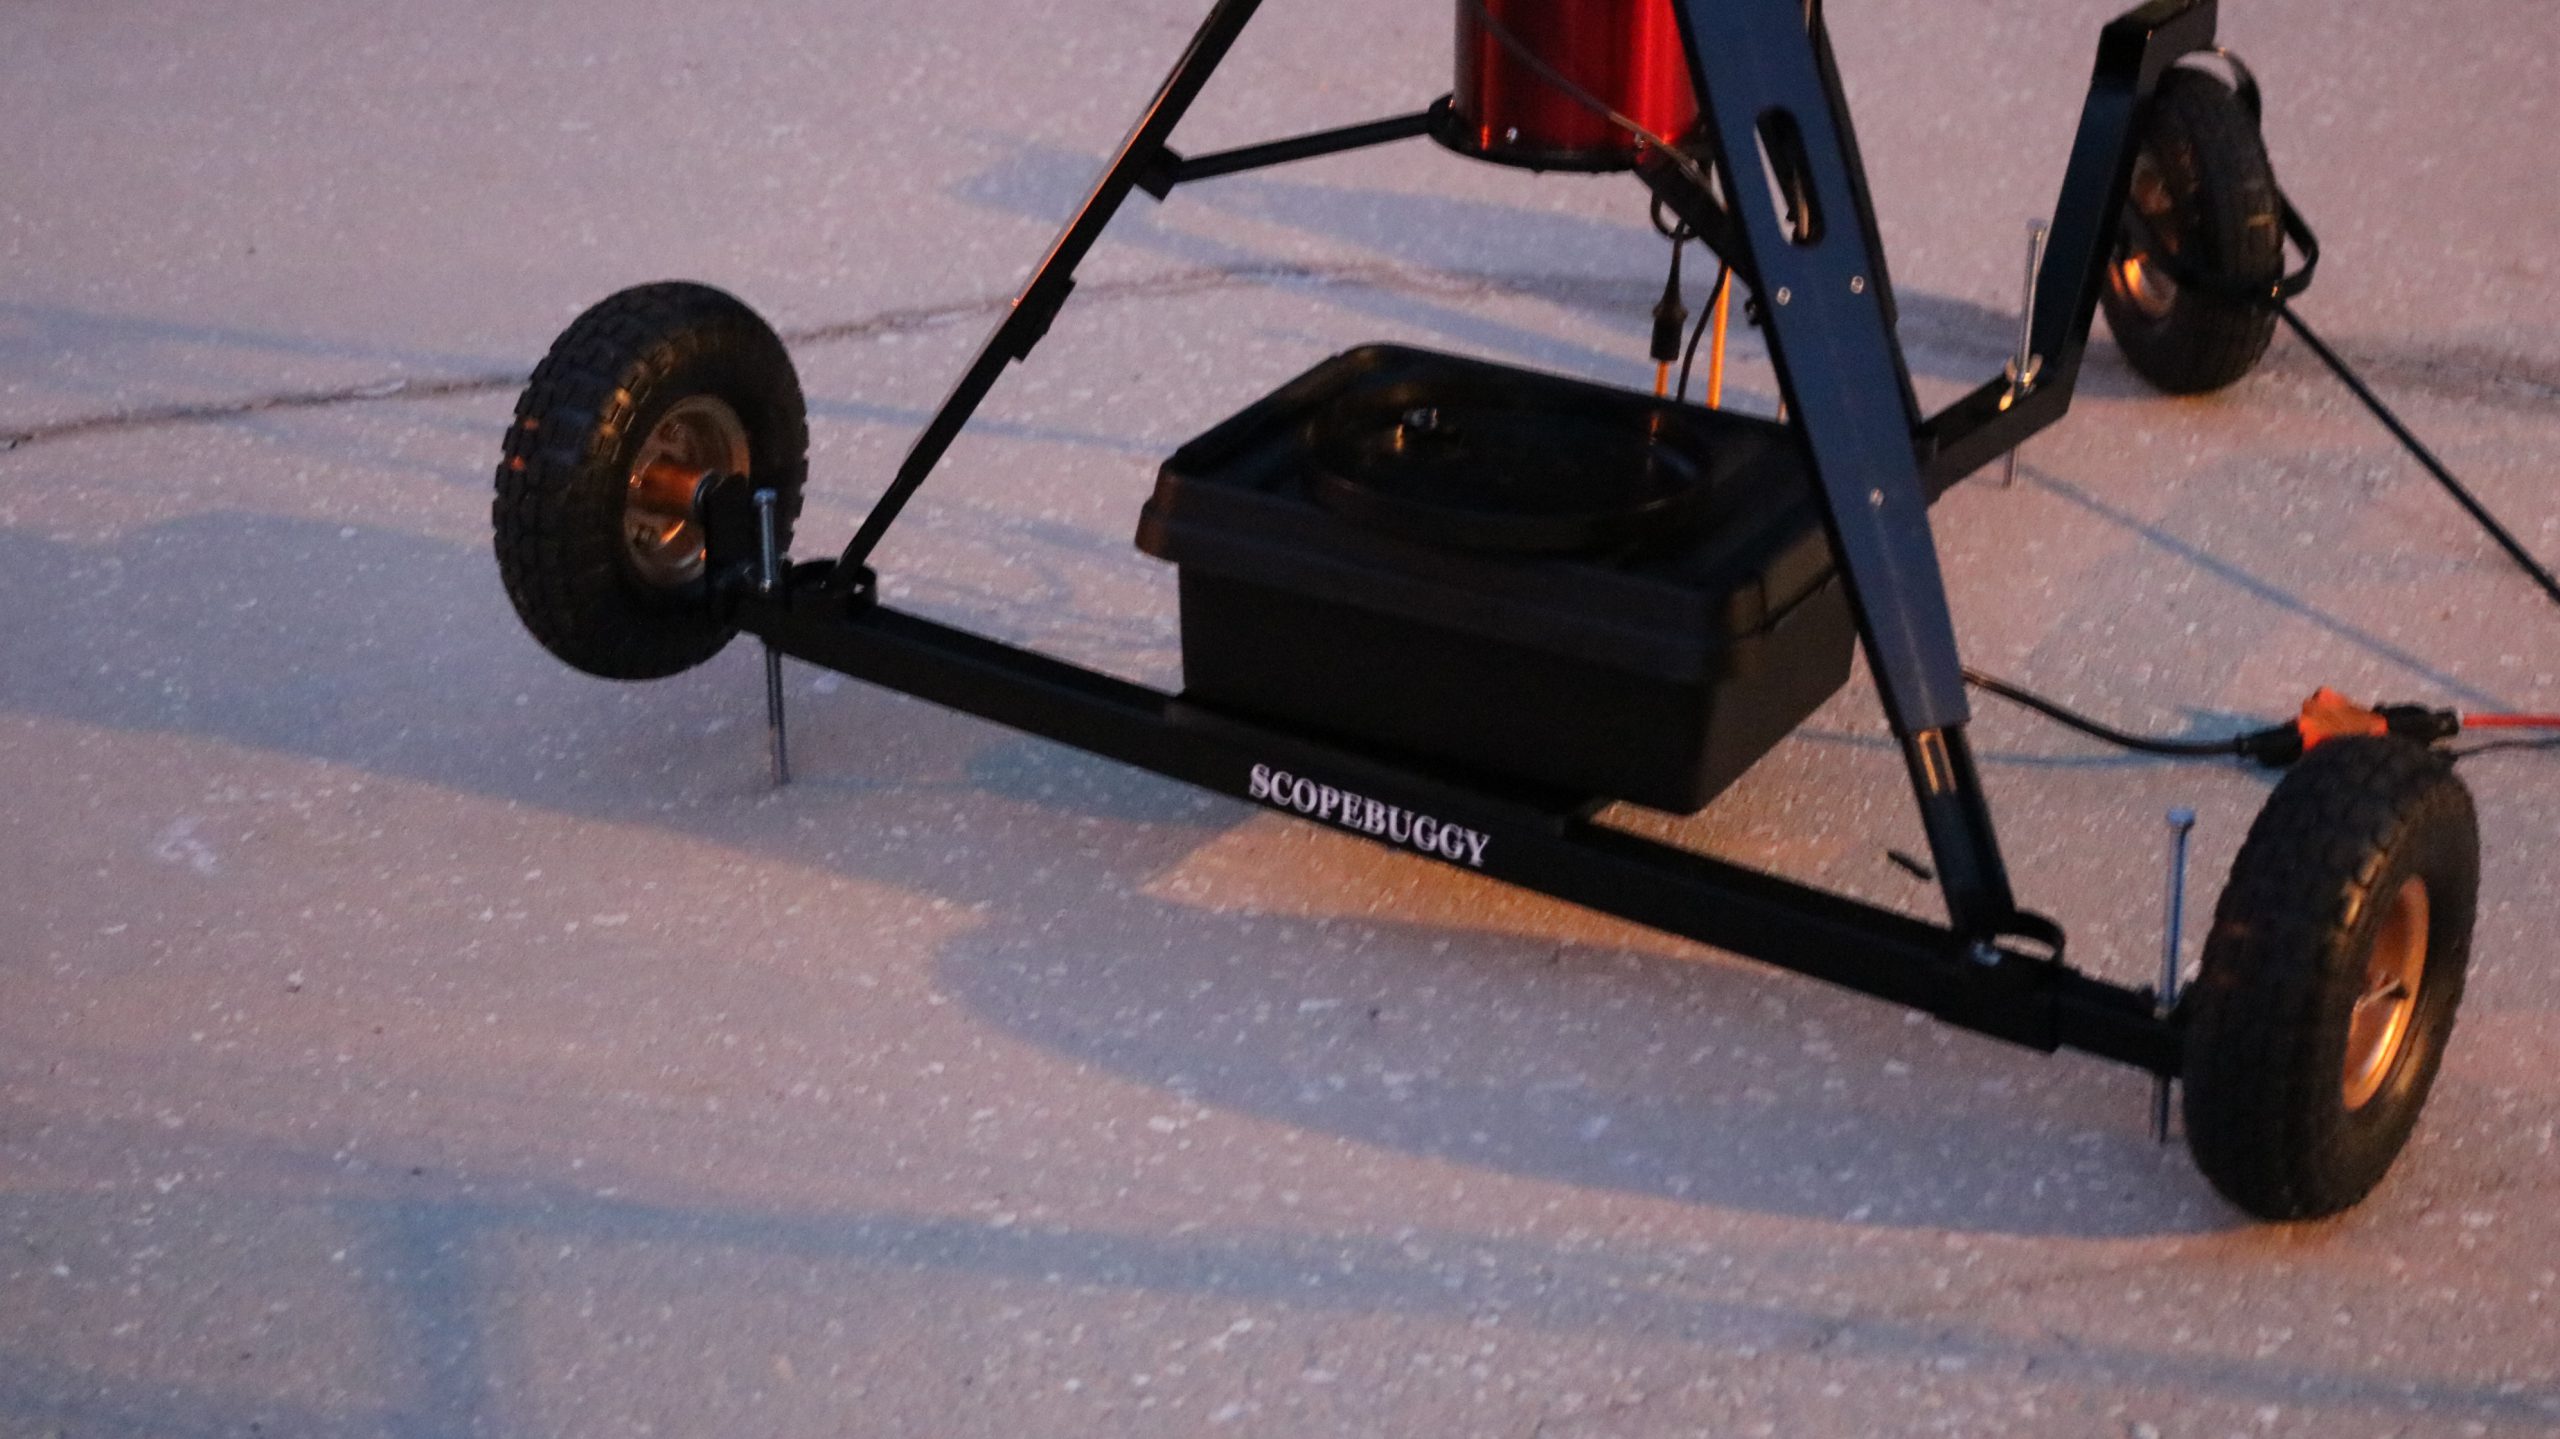
But you *can* make it so easy that it’s not something you want to avoid when you’re tired. I don’t have a permanent observatory – but I basically have an observatory on wheels:
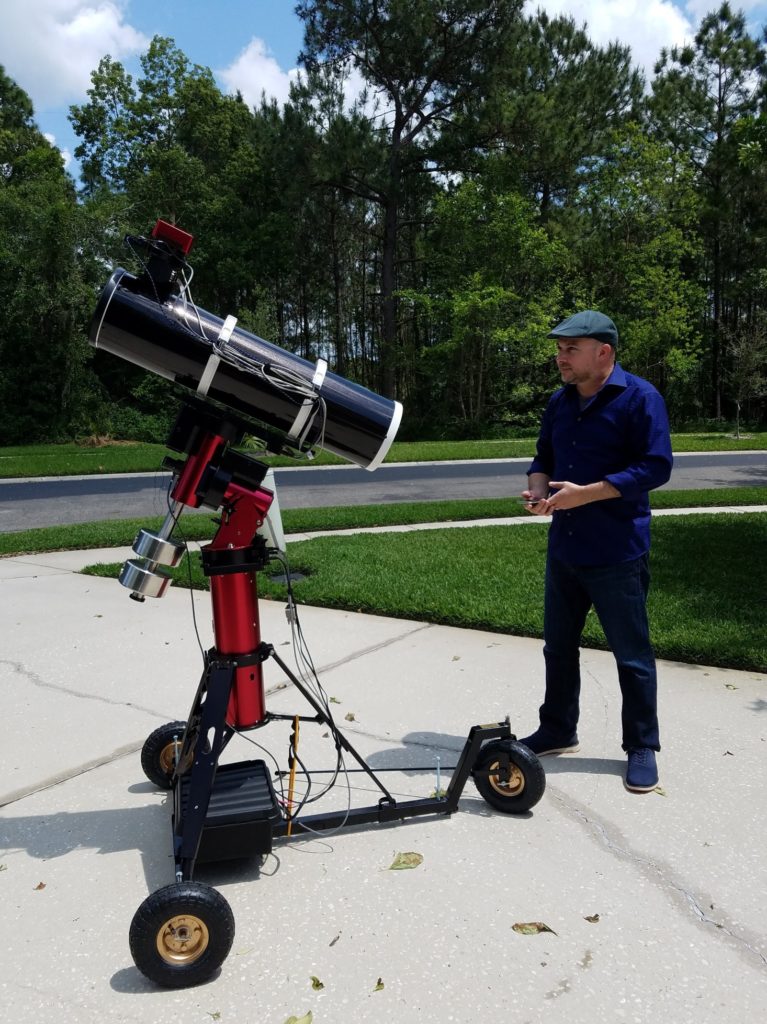
That’s a ScopeBuggy, and you will wonder how you’ve lived so long without one. I keep my telescope fully assembled all the time, and just wheel it out of the garage when I want to start imaging. You can mark the driveway, or use local landmarks to know where to position it such that it’s roughly polar-aligned. Physical setup just consists of:
- Run an extension cord out to the driveway
- Roll out the ScopeBuggy from the garage
- Screw down the leveling bolts (I replaced these with ones I could quickly tighten or loosen with a cordless drill to make it even easier)
- Plug it in and turn it on.
Total setup time: 5 minutes. Tear-down is just as fast.
I also have a security cable and a bike lock that I’ll wrap around it, connected to a nearby ground anchor. I’ve never had anyone try to steal anything, but it does offer some peace of mind if you intend to leave it imaging while you sleep.
Remote control

The “brains” of it all lives inside this electrical box that’s on the buggy. Inside is a power strip, a USB 3 hub, and most importantly, an Intel NUC mini-PC. That mini-PC runs all of the software needed to control the telescope autonomously: TheSkyX and CCD Autopilot. Once it’s running an imaging sequence, it can do so completely on its own all night long. Its BIOS is configured such that it will power up when it detects it’s been plugged in, so it starts up automatically when I plug in the system’s power strip.
But, you still need to kick things off somehow. The mini-PC has WiFi, and I installed a WiFi range extender near my driveway to ensure it has a strong signal out there. Using that network connection, I can control that mini-PC remotely using TeamViewer. So, I can connect to that PC from inside my home – where it’s nice, comfortable, and mosquito-free, and tell it what I want to image and how for long. I run a T-Point model to ensure the system can point and track accurately, even unguided. Then I start my automated imaging sequence, and go to bed.
Wait, I skipped an important step – polar alignment. That’s the one thing you can’t do remotely via software, and it’s the one thing permanent observatory owners still have over me. But I’ve made this as easy as possible by installing a PoleMaster device, which allows me to accurately polar-align the mount within 5 minutes once it’s dark. I connect to it using TeamViewer on a laptop next to the mount, then just bring the laptop back inside with me when I’m done.
So yeah, setup time is really 10 minutes – 5 minutes to set up the equipment, and 5 minutes to polar align it. Still easy enough that you won’t talk yourself out of doing it when you’re tired.
Imaging automation
While I use CCD Autopilot due to its tight integration with TheSkyX Pro, which in turn has tight integration with my Paramount MyT – Sequence Generator Pro is another popular alternative. But whatever software you use, the ability to automate imaging sessions is a game-changer. It literally lets you sleep at night.
I use CCD Navigator to choose my target(s) for the evening, which then exports an imaging plan to CCD Autopilot. CCD Autopilot can then do everything – wait until your target is high enough in the sky, switch filters, periodically re-align your target, periodically re-focus, and even take flats at dawn. It will take a few tries before you figure out the settings that work most reliably for you, but once you’ve figured it out, you’ll just wake up to lots of raw data waiting for you to process.
It’s even possible to automate acquiring guide stars for guided imaging – but if you’re in a light-polluted area using a camera with low read noise and a quality mount, there are a lot of reasons to go with shorter sub-exposure times that allow you to image unguided. That is just one less thing that can go wrong, and one less thing you have to worry about setting up. Unguided imaging is another way in which I simplify my process.
To make transferring that data from the mini-PC attached to the scope as painless as possible, I’ve configured CCD Autopilot to save its images and log files into a folder that’s synced to DropBox, so they automatically get uploaded into the cloud as the files are generated. I can then process the images on my PC in my home office; they’ll be copied there automatically.
Let’s Recap
So this is what an all-night imaging session looks like with this sort of system in place:
- Roll out the imaging system, secure it, and plug it in (5 minutes)
- When it’s dark, connect via TeamViewer on a laptop, and polar-align with PoleMaster (5 minutes)
- From the couch inside, run @Focus3 and a T-Point pointing model for a portable scope with around 20 points (15 minutes)
- Double check your session plan for the evening in CCD Autopilot, and kick it off (2 minutes)
- Go to bed (as long as you want)
- Roll the imaging system back in the garage in the morning (5 minutes)
Seriously, that’s it. You’ll spend a grand total of 15 minutes outside – unless you want to stay out there longer! It can all be controlled from anywhere, inside or out – just like an autonomous, remote observatory. You’ll get more imaging practice, more time with your family, and more sleep. And that’s all priceless!